Connecting Google Workspace/Gsuite accounts to MailVibes
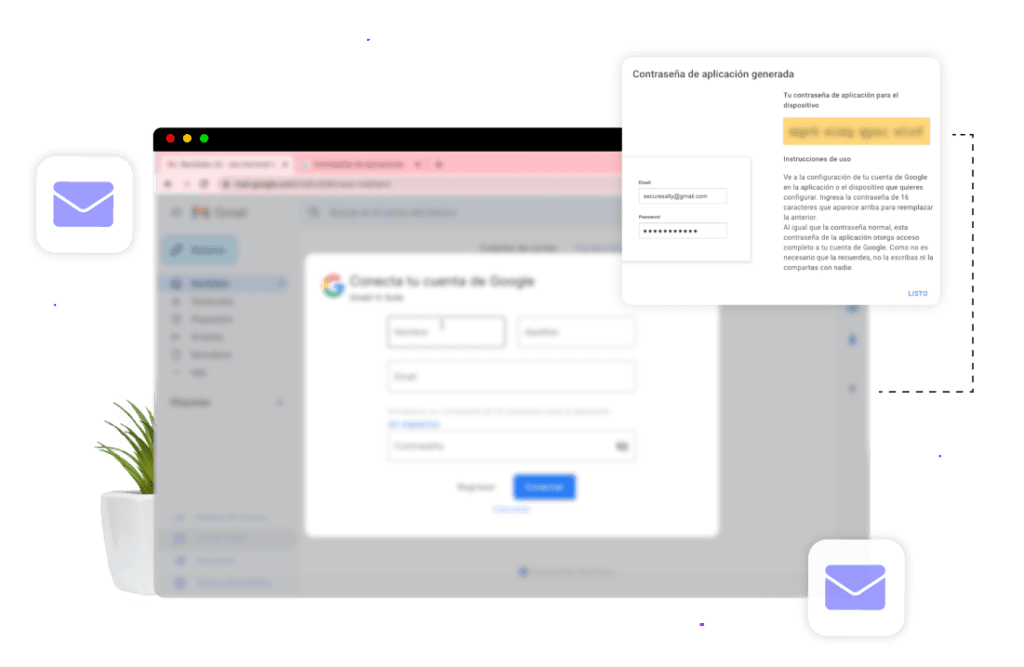
If you are using Google Workspace for your accounts, you will need to enable a few settings in your Google account before you can connect them to MailVibes:
Enable IMAP settings
Watch this tutorial for enabling Enable IMAP settings
You can follow these steps:
1. On your computer, open Gmail.
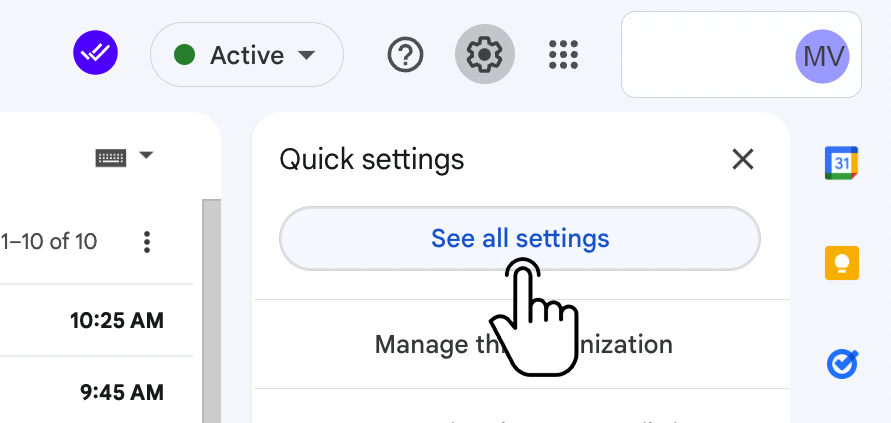
2. Click on Settings in the top right corner
3. Click on See all settings
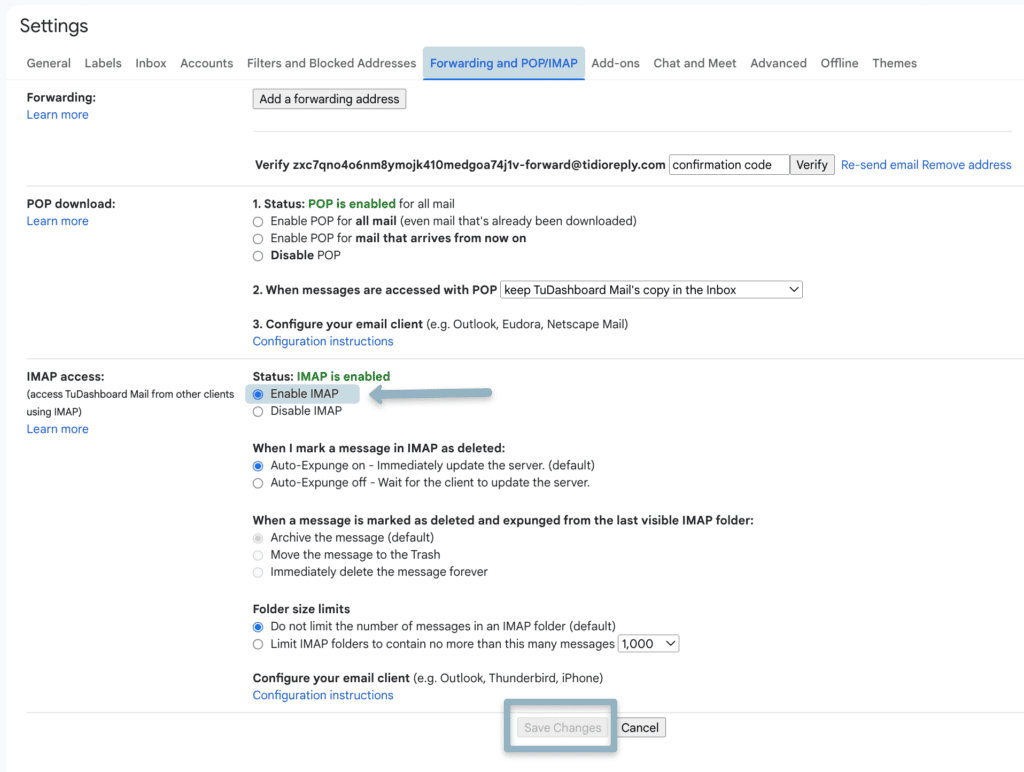
4. Click the “Forwarding and POP/IMAP” tab
5. In the “IMAP Access” section, select “Enable IMAP”.
6. Click Save Changes


Enable 2-Step verification
Watch this tutorial for enabling 2-Step Verification
Instructions for enabling 2-Step verification:
1. Go to https://myaccount.google.com/u/0/security and click on “Two Step verification“.
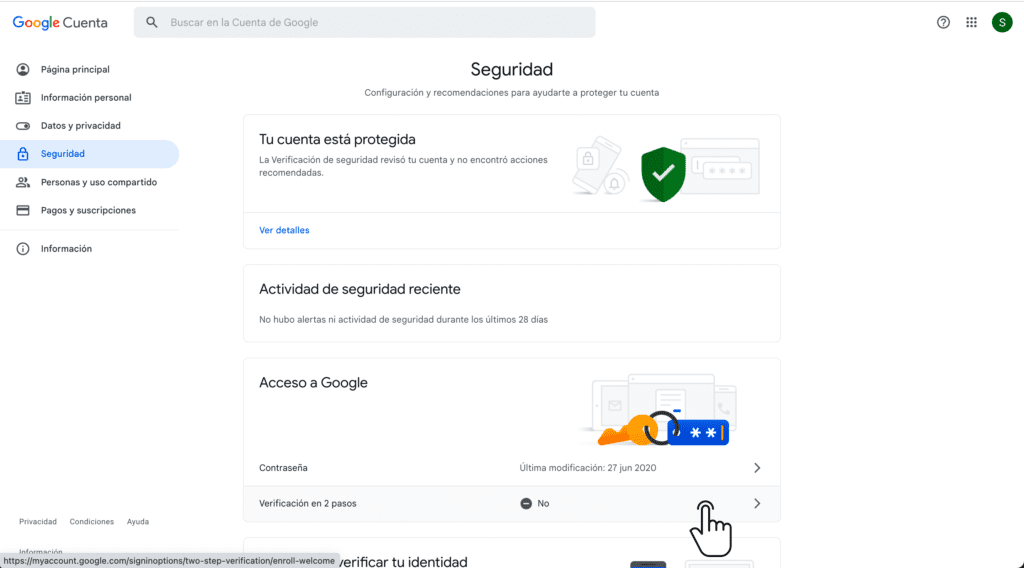
2. Click GET STARTED
3. It will prompt you to login again.
4. Set up your phone for Two Factor authentication
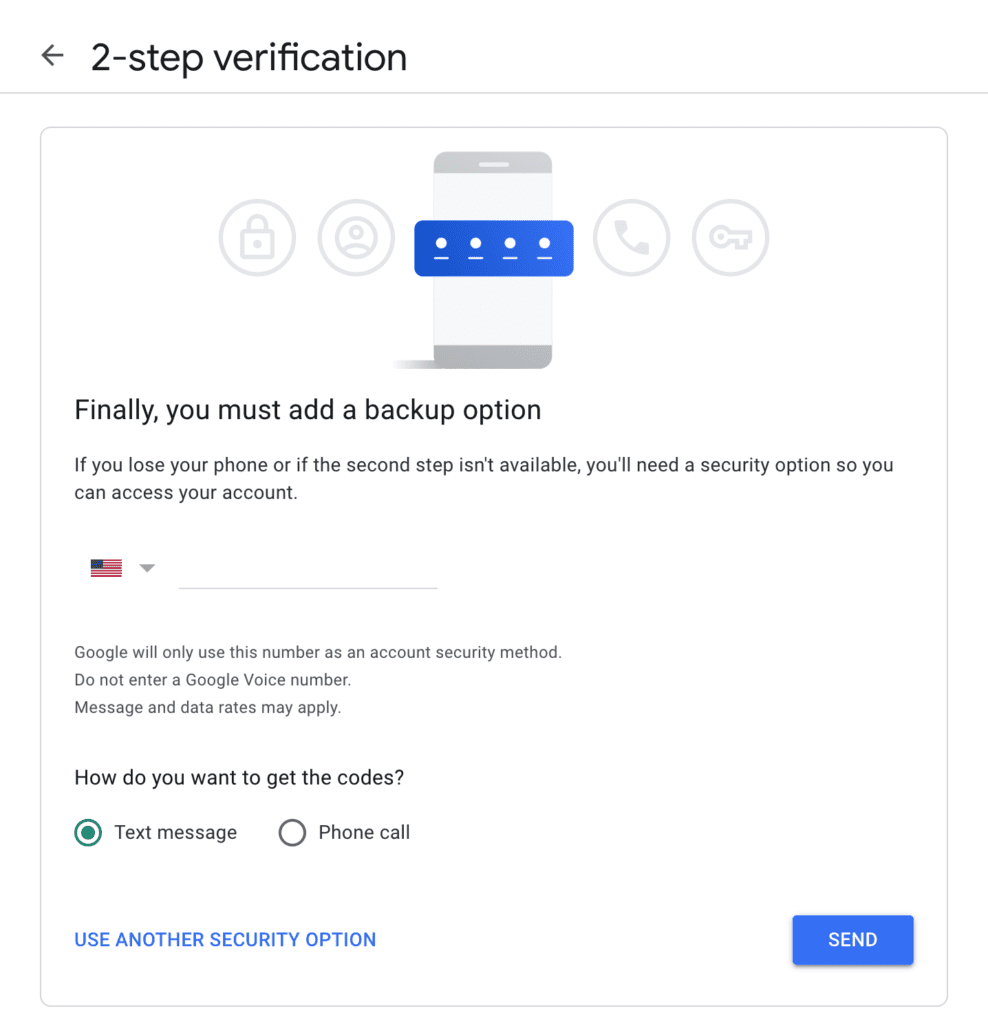
5. Enter the code you’ve received to your phone number to confirm.
6. Once you’ve confirmed click Activate
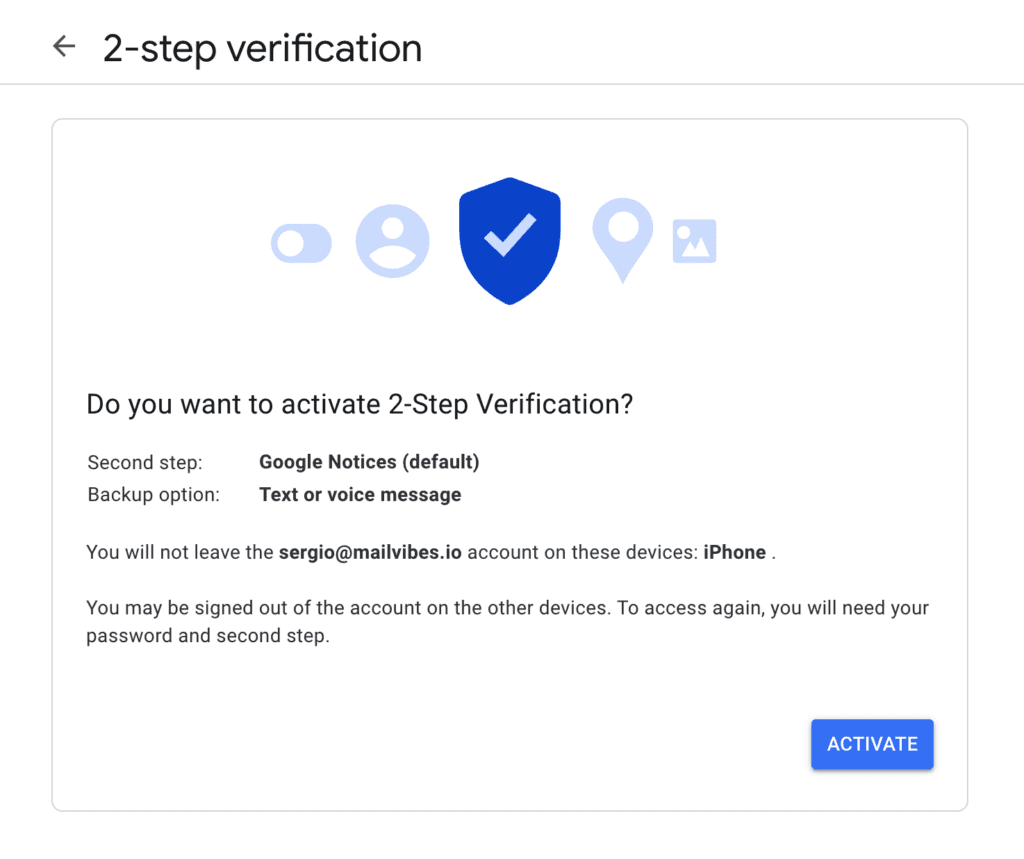
2-Factor Verification has been enabled now.


Create an App password
Watch this tutorial for creating an App Password.
1. Go back to the Security page. https://myaccount.google.com/u/1/security and click on App passwords.
2. It will prompt you to confirm again that it’s you. Enter your password again to continue.
3. Select App and Device. For the App click on Mail. And for Device you can simply click on Other (Custom)
4. Select a name. The name doesn’t really matter but for organizational purposes you can type in Mailvibes – Email Connection and then click on Generate.
5. An app password will be automatically generated. Copy it and save it somewhere safe. Once you’ve copied the app password click on DONE.

Connecting your account to MailVibes
Follow the steps from the video to connect your Google account to MailVibes
1. Go back to MailVibes to connect your account.
2. Click on “Add New“
3. Choose “Gmail / G-Suite”
4. Click “Yes, IMAP has been enabled“
5. Click “Next“
6. Type in your Name, email, and app password and click CONNECT.

