Create an Email Sequence using MailVibes
Learn how to use email sequences to automate your email follow-ups and increase your email responses without too much effort.
Before starting your Email Sequence
Then
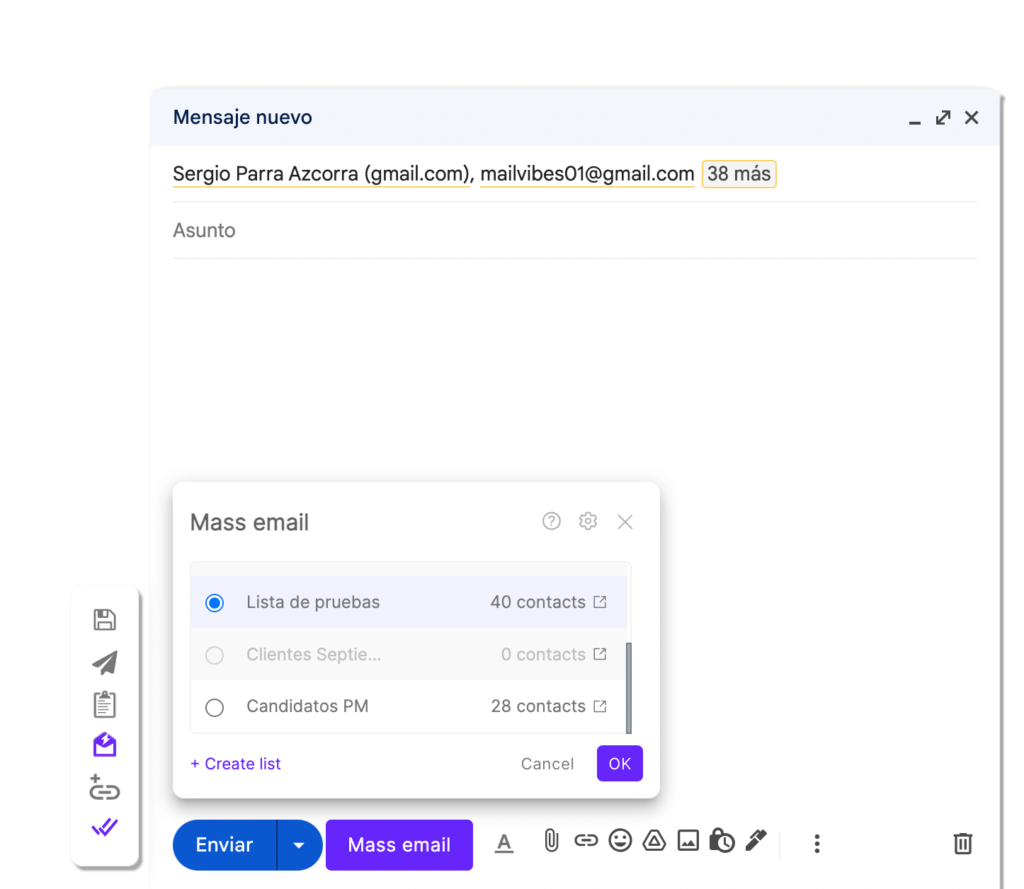
Add your recipients; you can do this in three different ways:
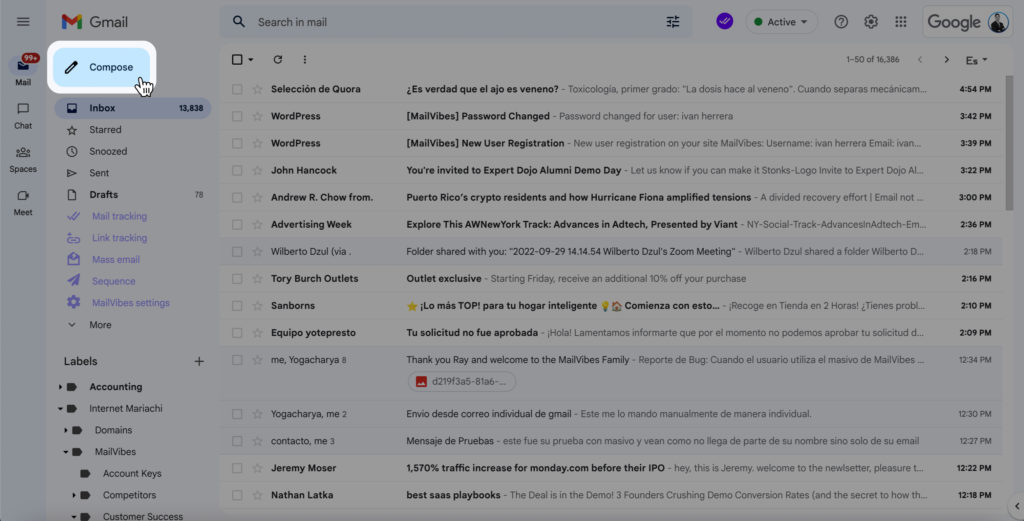
1. Manually add the emails directly inside the Gmail compose window.
2. Create an email list from scratch using MailVibes.
3. Select one of the lists you have created by clicking on the lightning envelope icon inside the MailVibes Bar. (See an image of the icon below).
Tip: MailVibes Lists will help you keep your contacts organized and you can use the contact information to personalize your emails.
Last
Write Title and Body of the email you want to send at the start of our sequence.
You can do this in three different ways:
1. Manually type directly in the title and email body of the compose window.
2. Use the shortcode of one of your Email Templates by using the slash key “/” followed by the shortcode keyword (ie: /followup), then hitting enter.
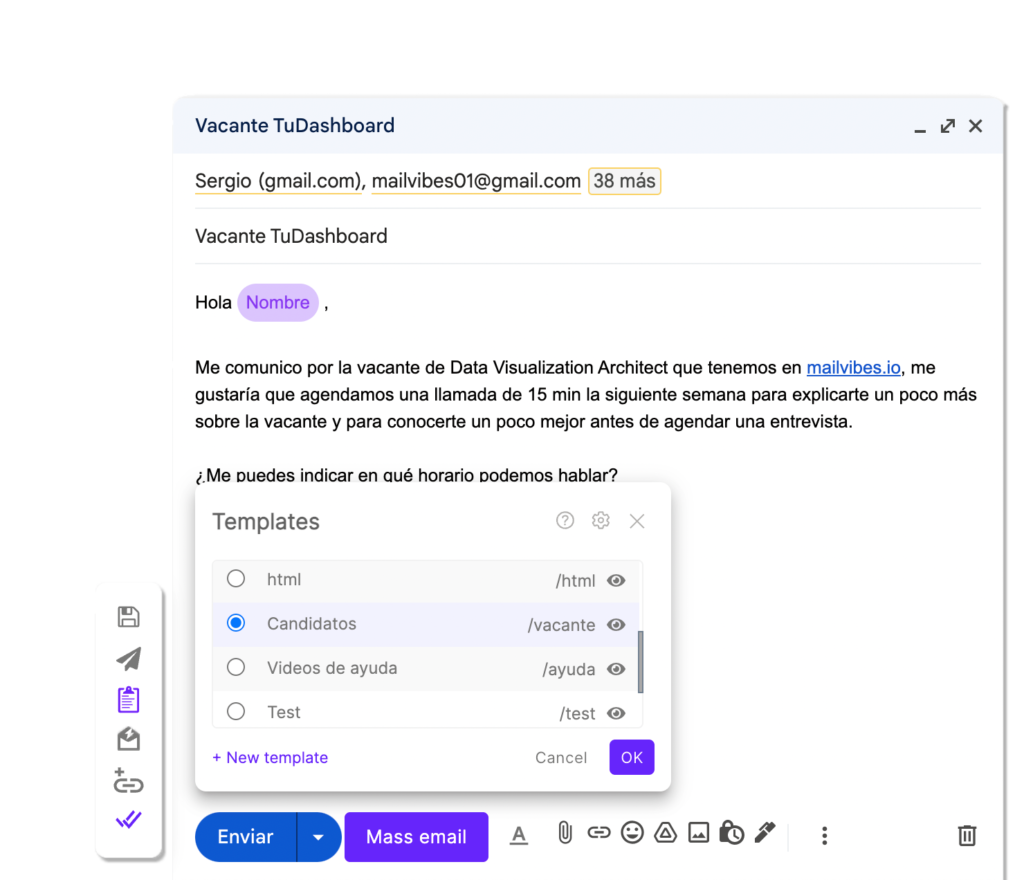
3. Select a template by clicking on the Templates icon inside the MailVibes Bar.
(See an image of the icon below).
Tip: Hover the cursor over the eye icon to see a preview of the template.



Email Sequences using MailVibes
Step 1.
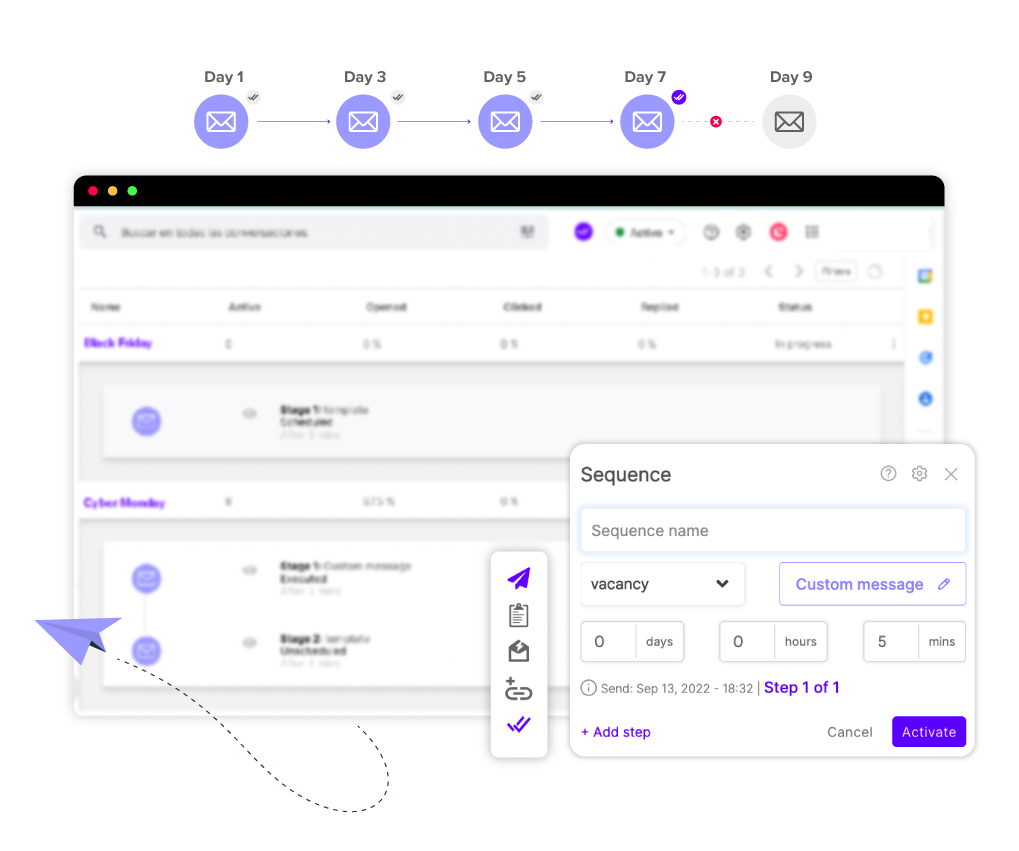
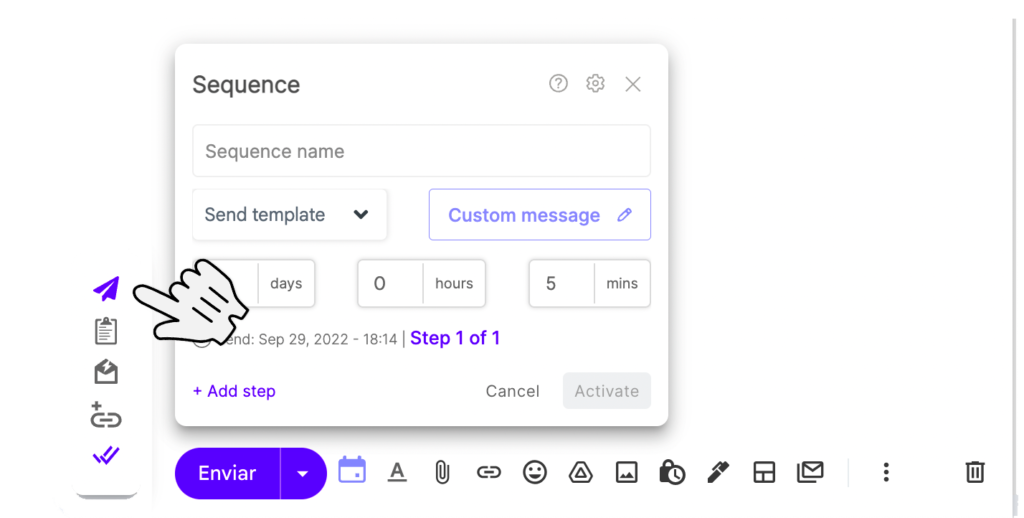
Start setting up your sequence by clicking on the paper plane icon inside the MailVibes Bar and adding your Sequence name. (See an image of the icon below).

Step 2.
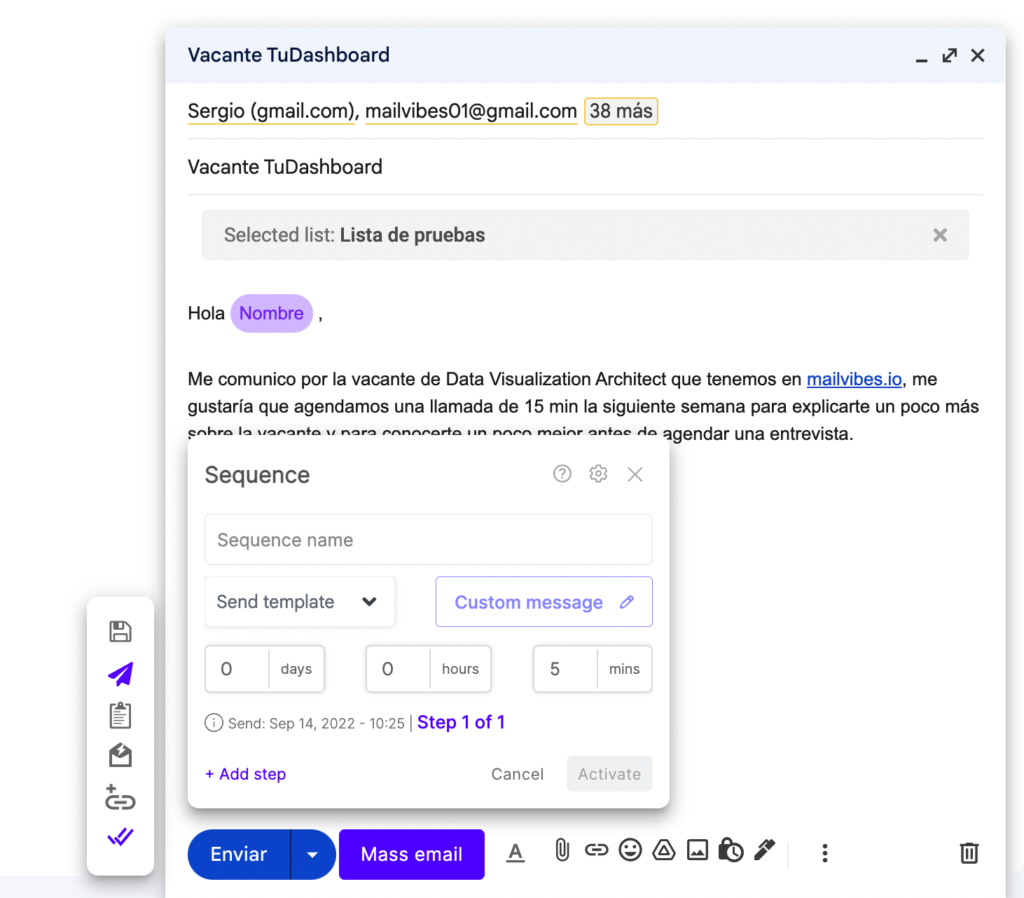
Write your follow-up email by clicking in the “Custom message” purple button or selecting an email template.
Step 3.
Set the time of your follow-up email.
If the recipient does not answer your first email within that time frame, MailVibes will automatically send the custom message or template you chose.
Then click on “activate” and your first email sequence will be ready to send or click “+ Add step” if you want to add another step to the sequence.
You just have to repeat the 3 steps you just followed on this guide to set-up step 2, 3, 4 or as many steps you want to include in your sequence.
Once you are finished setting up your sequence steps and have clicked “Activate” on the Email Sequence Window.
Press the “Mass email” button inside your Gmail Compose Window to start and send your sequence.
Tip: The Send time is linked to the time the first email gets sent and not to the previous step or any of the other steps.




We are almost ready!...
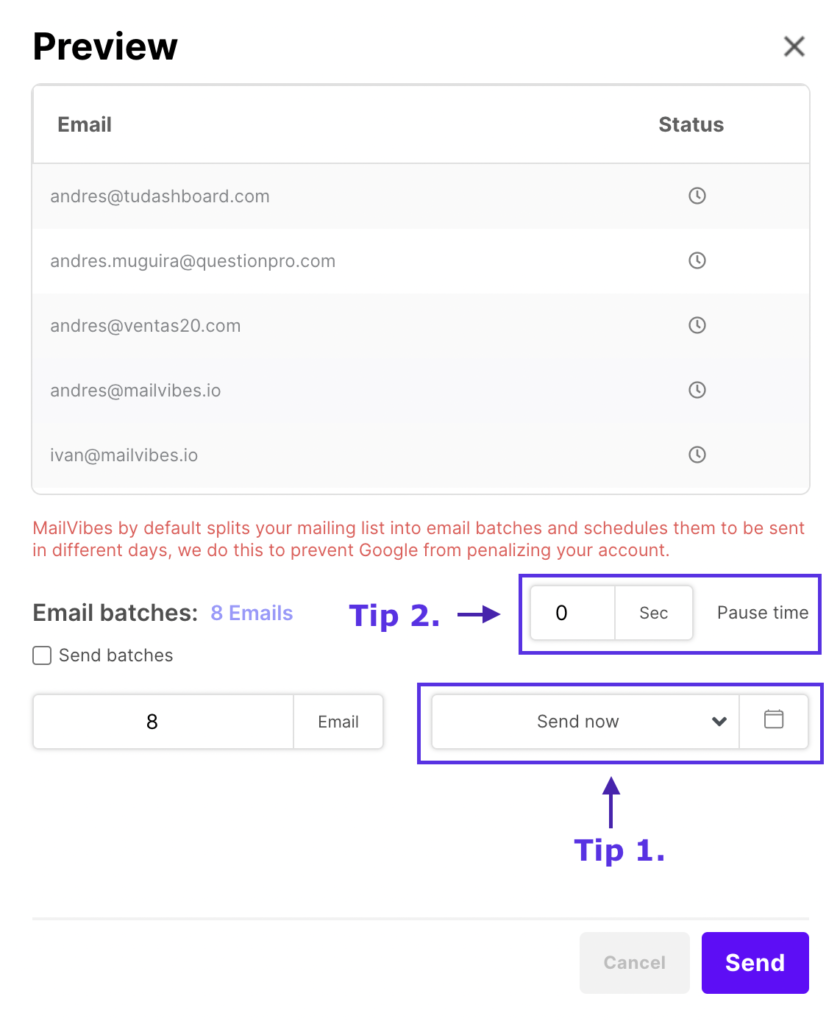
Once you have clicked the “Mass email” button, the campaign preview window will pop up on your screen; click the “Send” button when you’re ready to deploy your email sequence. Before doing it, we recommend you continue reading to learn some tips to help your email management and deliverability.
Tip 1: Schedule your sequence
If you don’t want to send your campaign immediately, you can schedule it by clicking on the calendar icon above the “Send” button and choosing the specific day and time. You can also click the “Send now” button located left of the calendar icon if you’d like to select a predefined time.
Tip 2: Set a Pause time
Set a “Pause time”; we recommend setting it between 10 and 60 seconds to improve the deliverability of your Email Sequence campaign.
Small pauses between each email sent will make it seem like normal human behavior, and Gmail will be less likely to flag your account as someone who might be abusing their system.


Send by batches
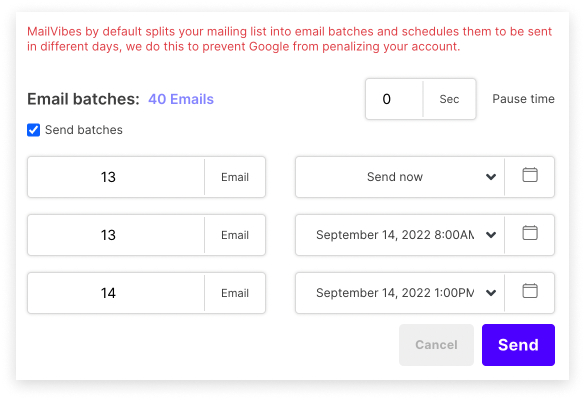
This feature allows us to split our contacts to send the message by batches. click on the check-box on “Send batches”, the contacts will be split into 3 batches by default, you can click and change the amount of contacts for each batch and in the dropdown next to it, you can set the date. if you only need 2 batches you can leave the third one on 0 contacts.
click on the purple “Send” button.
Tip: Gmail has a limit of sends per day, if your emails are not urgent to send that day use this feature to schedule your message to be sent on another date to avoid reaching the limit.


Sending in process…
Your campaign is in the process of being sent, you can close the window and continue with your activities while it is running in the background. You will see the following message on the left side of your gmail with progress


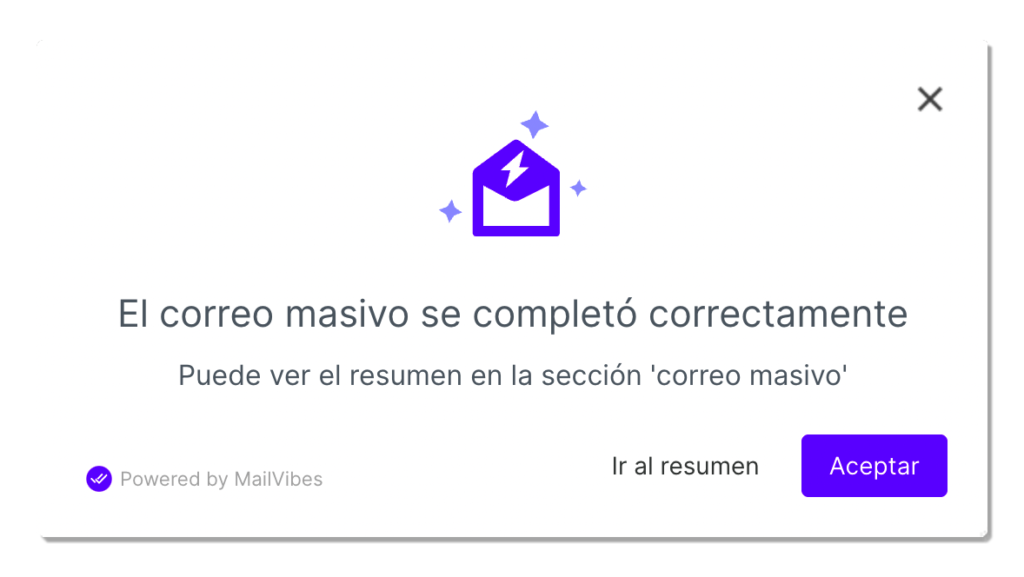
When you finish your sending, the following window will appear.
To see the details of your sending click on the “Go to summary” option or you can also do it from the Gmail left menu under the “Sequences” option.


Sequence Dashboard
In this section you will be able to see the statistics and details of your sent sequences.


